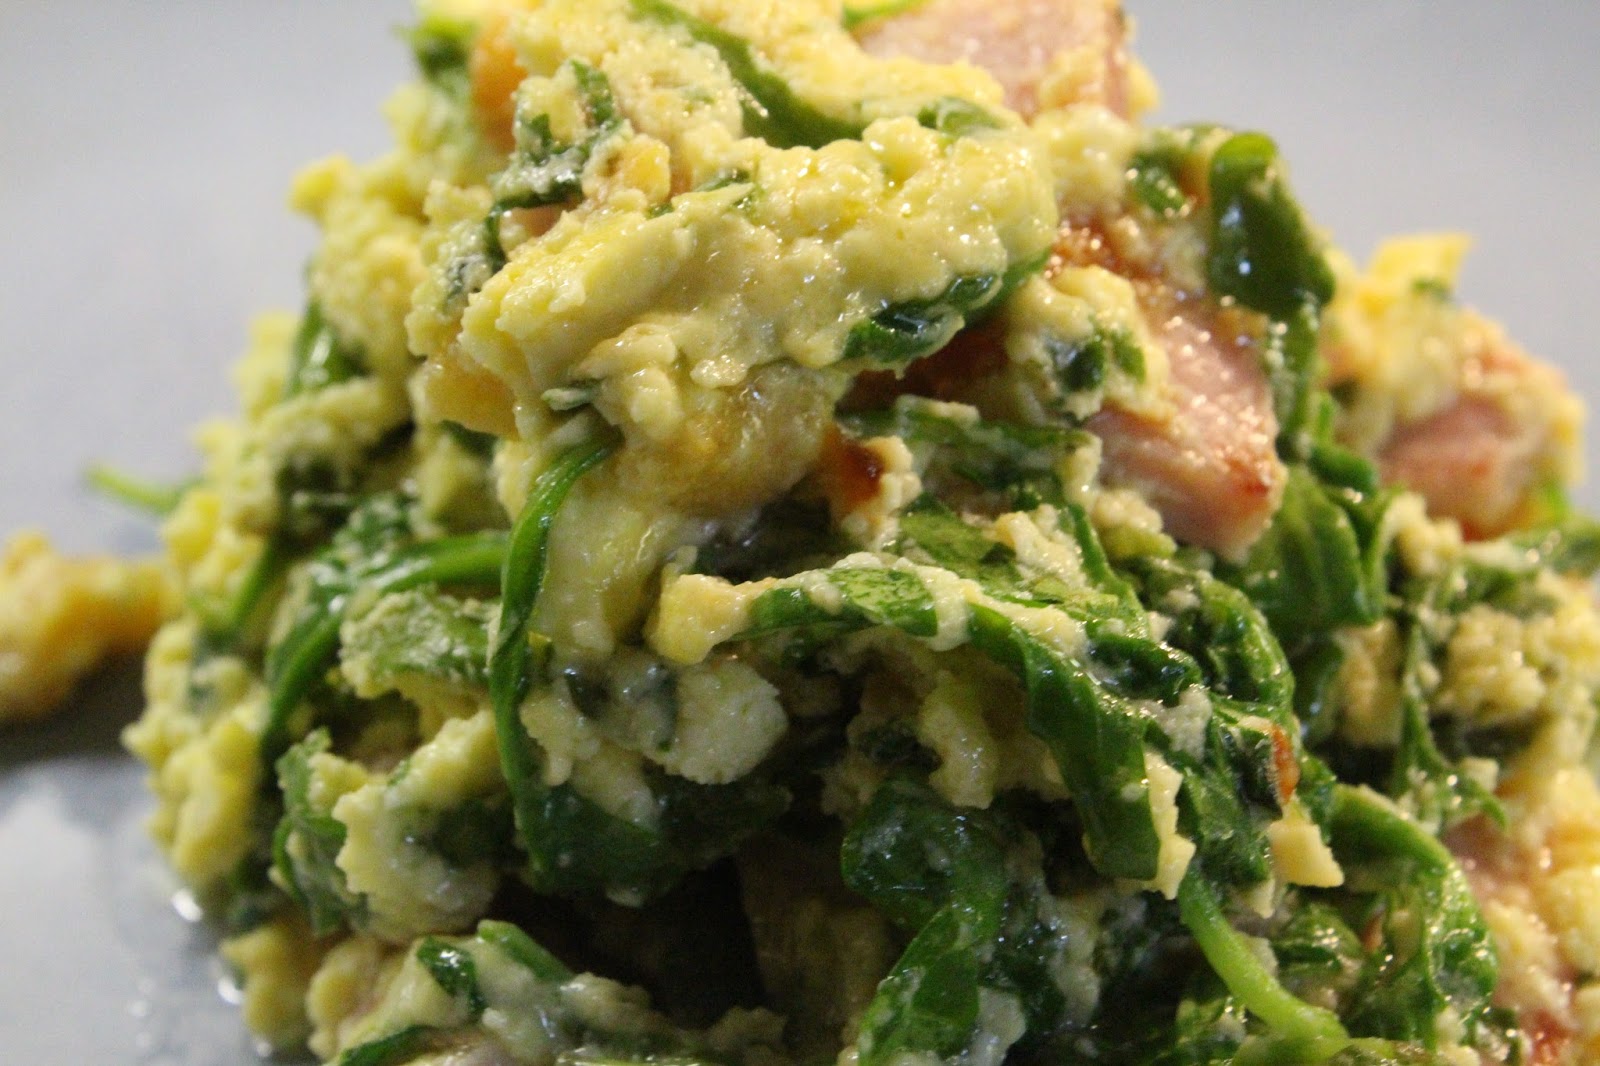
This is my version of Green Eggs and Ham. Great for company and can be easily doubled or tripled.
I've followed a recipe for this dish for some time but this morning I had left over mascarpone and was determined to incorporate it into breakfast. This recipe also includes fresh basil from my herb garden and baby arugula to add more flavour and texture. Can be easily doubled or tripled.


Recipe
2 tbsp olive oil
2 cloves of garlic - finely chopped
4-6 slices of Canadian Bacon or Peameal Bacon
2/3cup Mascarpone Cheese (or cream cheese softened with milk)
4 large eggs
1/4 to 1/2 cup chopped fresh basil (more if desired)
2 cups baby arugula
1/4 cup parmesean cheese
Heat frying pan over medium heat add olive oil. Cut bacon into 1 inch squares. Add bacon pieces and garlic to frying pan and cook over medium to med/low heat until garlic is soft, approx 7-8 minutes. While bacon and garlic are cooking beat eggs, add chopped fresh basil.
Increase heat to medium. Add mascarpone to the pan to melt and stir, about one to two minutes. Add Arugula and stir to wilt, about one minute. Add eggs and stir as you would to make scrambled eggs. Continue cooking eggs slowly over medium heat until desired doneness. I prefer my eggs a little on the moist side. I find that if they get cooked too much they become rubbery and runny. I don't like that. When they are cooked to your liking turn of the heat and stir in the parmesean cheese. Serve with toast and coffee or tea, a nice fruit salad and, of course, mimosa!!
I have often made a large batch and placed the eggs in a large dish to serve a group of people at brunch. Because the ham/bacon is in the eggs you have a one dish main that looks and tastes great.
L
2 tbsp olive oil
2 cloves of garlic - finely chopped
4-6 slices of Canadian Bacon or Peameal Bacon
2/3cup Mascarpone Cheese (or cream cheese softened with milk)
4 large eggs
1/4 to 1/2 cup chopped fresh basil (more if desired)
2 cups baby arugula
1/4 cup parmesean cheese
Heat frying pan over medium heat add olive oil. Cut bacon into 1 inch squares. Add bacon pieces and garlic to frying pan and cook over medium to med/low heat until garlic is soft, approx 7-8 minutes. While bacon and garlic are cooking beat eggs, add chopped fresh basil.
Increase heat to medium. Add mascarpone to the pan to melt and stir, about one to two minutes. Add Arugula and stir to wilt, about one minute. Add eggs and stir as you would to make scrambled eggs. Continue cooking eggs slowly over medium heat until desired doneness. I prefer my eggs a little on the moist side. I find that if they get cooked too much they become rubbery and runny. I don't like that. When they are cooked to your liking turn of the heat and stir in the parmesean cheese. Serve with toast and coffee or tea, a nice fruit salad and, of course, mimosa!!
I have often made a large batch and placed the eggs in a large dish to serve a group of people at brunch. Because the ham/bacon is in the eggs you have a one dish main that looks and tastes great.
L


