Thursday, April 4, 2013

Browniecados...? Yes Please!!

Yes Please, indeed!!

A family member sent this post to me a few days ago from the Chubby Vegetarian's Blog.  He made them last night and confirms that they are delish!!

So, looking for an excuse, justification really, to replace my damaged mini-muffin baking pan, I jumped right in...

Click here to link to Chubby Vegetarian's Recipe


I admit that the contrast does not look appealing.


My batter made enough to fill 16 mini muffin cups to about 2/3's full and I baked them for 18-20 minutes.


Whuut..  where did that one go???  :-D


I would recommend trying these.  You cannot tell that there is avocado in the mix and they are moist and chewy too.


The Lovely Iris!

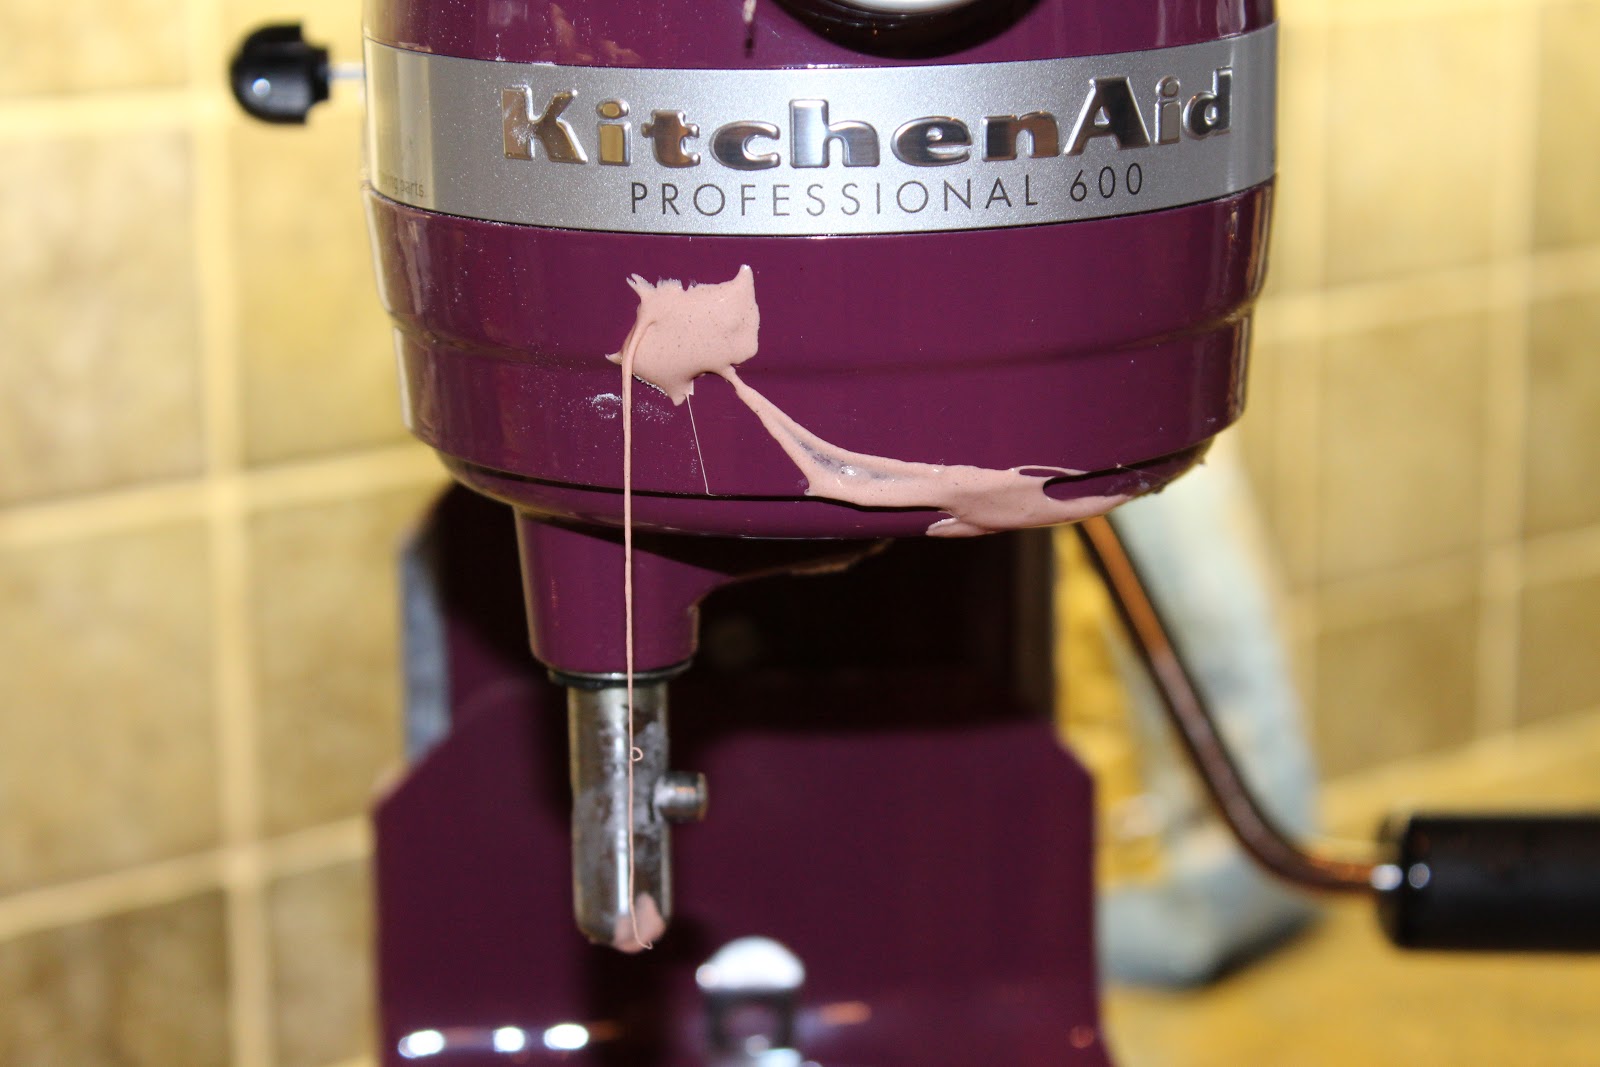
In December 2012, a couple of weeks before Christmas a new member of the family arrived. An early Christmas gift from my honey.  And she's purple! Even cooler!


I think she is gorgeous!! A six quart bowl professional 600 series.  Wow! am I ever fortunate. Someone really likes me.


Iris and I made doughnuts, whipped cream, tiramisu and the best cookies, ever!  the list goes on.  In fact she plays a starring role on the Smalldeluxe Blog.  Since she came home to live with us she has inspired me to become more adventurous in the kitchen.

Not long after she came home I noticed that she was experiencing some problems with her switch and at high speeds she just didn't seem to work smoothly.

I called Whirlpool to find out how to correct the situation and they offered to replace her, straight out...  I was pleasantly surprised at how quickly and efficiently they wanted to rectify the situation. Unfortunately at the time they only had four colours in stock and my beloved boysenberry stand mixer was not available.  They suggested that I try at a later time.

I called on Monday to try again and I was so pleased that they had one in stock and I could expect it within the next three to four weeks.

The new Iris came today (Thursday). "That was quick!".  I had planned on baking today and I had one last spin with Iris before I send her back to her maker (literally).  Here is the post of my last adventure with Iris.  


Goodbye Iris...  I will miss you. 


I look forward to more adventures with the new Iris.


New Iris on the left, Iris I, on the right.

Friday, March 29, 2013

Homemade Easter Creme Eggs

Since I have some time to spare I thought that I would try this out.  I will post a link at the bottom to the original recipe if you feel that you are brave enough to give it a try.

They started out lots of fun.  The chocolate coating work was tough.  After coating I swore this was my first and last batch.  After cutting one open and tasting it..... I may reconsider.


When I added the colouring I used about 5 drops of yellow. I found the yellow alone was too yellow, like neon-looking. I added one drop of red to the candy but it was a bit more than I needed so I corrected it with extra yellow. In total I used about 15 drops of yellow to one drop of red. I'm glad I did, I love the way they turned out.  You can see the results in photos near the end of the post.

While working with the candy I had a bowl of ice water to keep my hands cool and found that wet hands don't stick to the candy as much.  I dipped as needed.

Use parchment paper.  This stuff is very sticky.  I read some one's blog and they used tin foil and regretted it.

It is important to keep the candy as cold as possible and work quickly.  It is really soft and loves to melt at your touch.

It reminds me of playing with play dough as a kid.  


After forming I put them in the freezer overnight.  Not because they needed to be there that long, I just didn't have time to coat them that night.


I tried using my bare hands, toothpicks, and two forks to roll them around in the chocolate. 


If I make them again I will use the toothpicks and leave them inserted in the egg and not remove them until the chocolate has set.  I read that tip somewhere - After I was finished of course.


I set them in the fridge and then wrapped them up in squares of parchment paper for transporting to the family dinner.


Here is one of the ugly ones (ran out of chocolate so it was kind of a bit of a Frankenstein looking shell).  I was very pleased.  Delicious, sweet, vanilla and chocolate. And I am very happy with the colour of the yolks.


Link to the recipe that I used.

http://www.instructables.com/id/Homemade-Cadbury-Creme-Eggs/?ALLSTEPS 

Thursday, March 28, 2013

Did they bring Spring with them?

On St Patrick's day weekend we drove along Highway 407 and saw this huge flock of Tundra Swans.  I just wondered why they didn't bring warm weather with them on their route.

I have never seen so many swans in one place.


Sunday, March 24, 2013

Homemade Marshmallows for Easter.

SShhh.... Don't tell my family.  I am bringing these to easter dinner.


I made raspberry one day and then chocolate the next day. This was my first time making marshmallows from scratch and I would do it again.  This was so much fun!  Can you say "STICKY", messy, fun?

Since I never made candy from scratch before I needed a candy thermometer.  If you have never used one, a word of caution, once it is in the pot, all the metal parts start getting very hot.  Mine read over 200 Degrees Fahrenheit when I decided I needed to adjust the way it was sitting in the pot.  That little clip that holds it on felt like it was surface-of-the-sun hot when I grabbed it to reattach to the pot.  OUCH!


It's really interestng to watch the mixture turn from something that looks like dirty dishwasher water to the creamy, foamy and sweet goodness that marshmallows made at home can give.


This is so sticky and stringy.  If it touches anything it is not budging.


Use lots of confectioners sugar to coat the pan before pouring in the mixture. It is very sticky.


After they are cut they are a bit sticky.  You'll need to coat them in confectioners sugar. I thought that tossing them was the most fun way to do it.